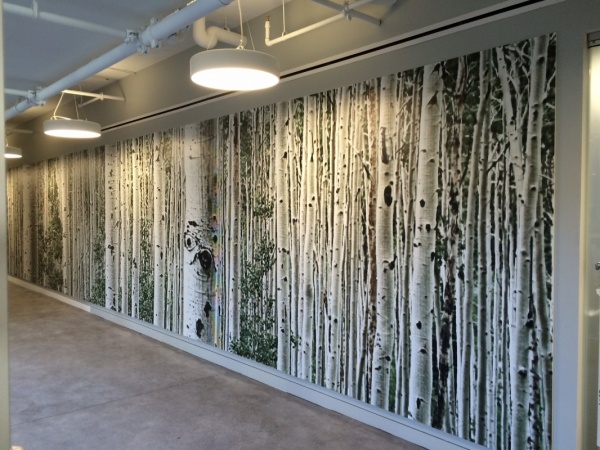
Textured Walls and Wrap Installation
Textured walls are rough surfaces with a series of high and low spots. The texture can be very fine or quite coarse based on the materials used. For example, brick walls have a rough texture, while painted walls have a fine texture. The wall surface plays an essential role if you want to install wall graphics. Here’s a look at how professionals install wraps on textured surfaces:
Challenges of Installing Wraps on Textured Walls
Installing a wrap on textured walls is a challenge because the surface is uneven. If you don’t use the right technique, the wrap will come off in a short time. That’s a waste of time, effort, and money. Here’s a look at some of the challenges while installing interior wraps on textured walls:
- Poor Adhesion – Many wraps require a plain and smooth surface to install correctly. There don’t adhere to walls with rough texture, so you need something specifically designed for such walls.
- Distorted Image – Even if the graphic adheres to the wall well, the image can look distorted as the surface’s texture is visible. The only way to avoid this is through proper application.
- Loose Particles – Many textured surfaces shed particles with time, which can compromise adhesion. For example, a brick wall surface is dusty, and regular interior wraps won’t work on such a surface.
An experienced installer will know how to navigate these challenges and ensure your wall looks good.

Wrap Installation Process
The wrap installation process can differ based on the texture of the wall and the type of wrapping product. Manufacturers provide detailed installation instructions to ensure the results are satisfactory. Here’s a look at the basics of the process:
- Cleaning the Surface – The first step is to clean the surface thoroughly, ensuring that all of the low spots and bumps on the wall are clean. The wrap won’t adhere to the wall if it is dusty.
- Preparing – It is a good idea to fix all cracks and big dents on the wall before installing a wrap. If the surface is freshly painted, let it cure for at least five days before installing a wrap.
- Application – Once the surface is ready, experts will carefully apply the wrap, adhering three sides of the piece first. They will then slowly work over the center section of the film until it is completely flush against the surface.
The quality of wall graphics installation depends on the installer’s skill. That’s why it is a good idea to browse through a professional’s portfolio. An experienced technician will make sure your wrap looks sharp and presentable after installation is complete.
Tags: textured walls, wall murals, wall wraps
